Introduction:
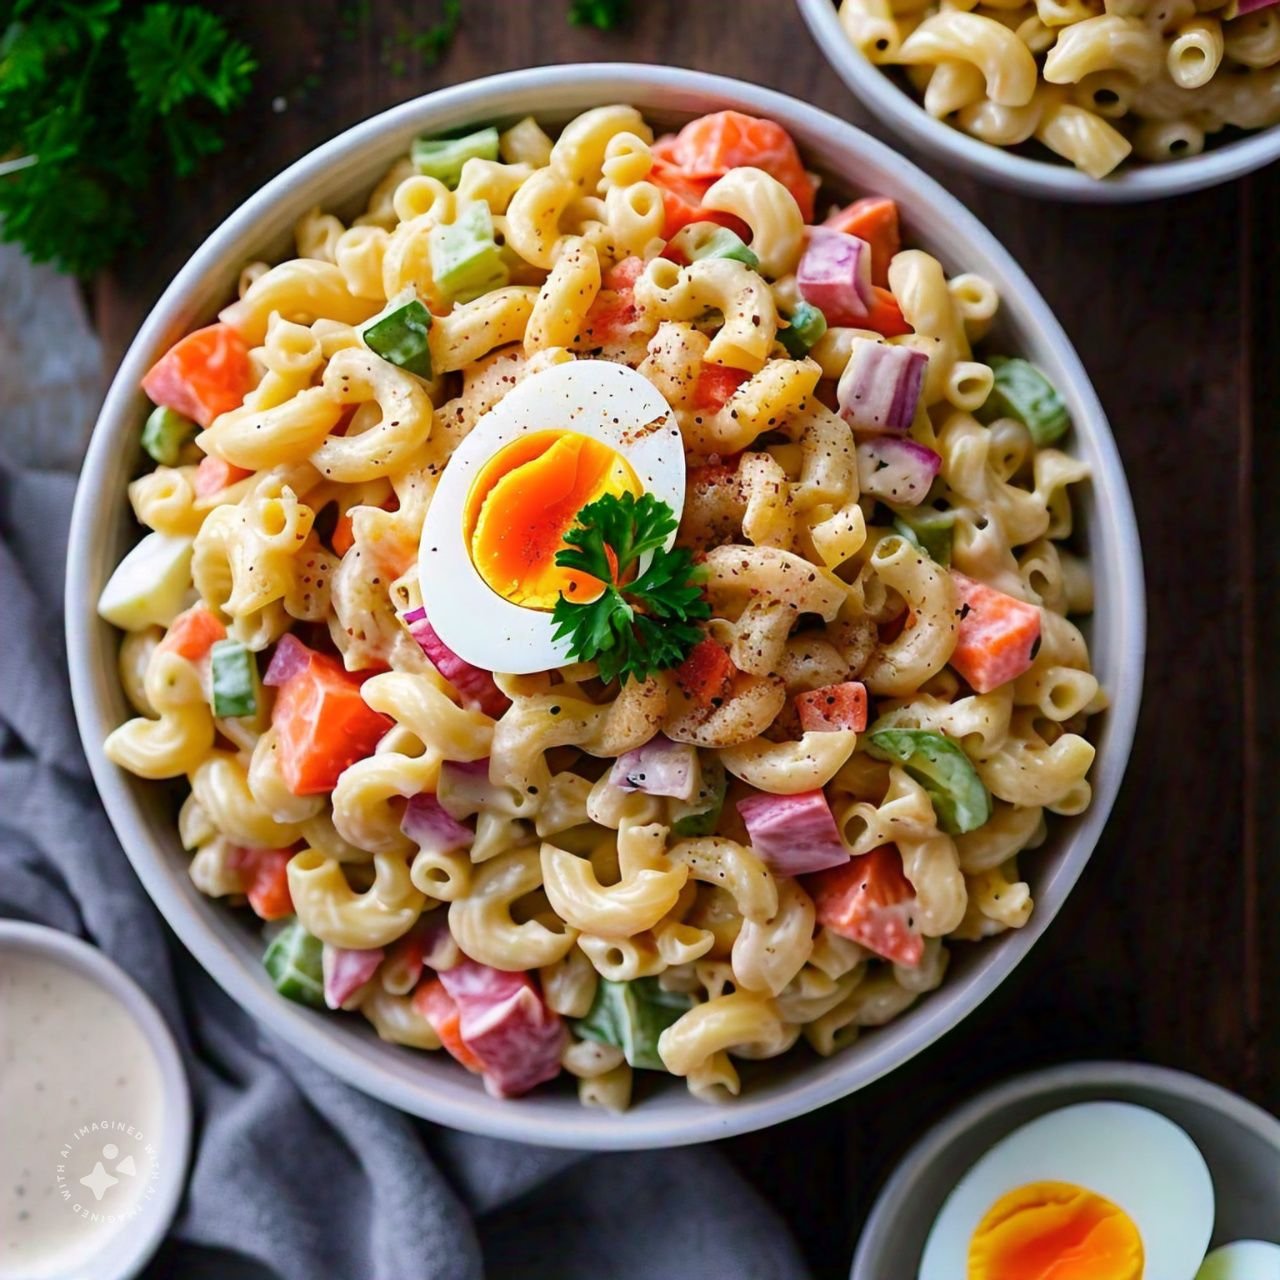
The Milk Bar Pumpkin Pie is a culinary masterpiece, celebrated for its creamy texture, complex flavors, and the nostalgic warmth of fall spices. In this article, we’ll explore the secrets behind creating the perfect Milk Bar-style pumpkin pie that rivals bakery quality. Follow this step-by-step guide to achieve a rich, decadent dessert with a crisp, flavorful crust and a filling that’s simply unforgettable.
Why Milk Bar Pumpkin Pie Stands Out
Milk Bar pumpkin pie is no ordinary pumpkin dessert. Its unique twist on traditional pumpkin pie combines classic flavors with innovative techniques, making it a favorite for pumpkin and pie lovers alike.
Here’s what sets this pie apart:
Creamy Custard Texture: The filling is ultra-smooth and luxuriously creamy, blending pumpkin with an ideal mix of spices and sugars.
Crunchy Crust: The crust provides a delightful contrast to the filling, balancing richness with a satisfying crunch.
Balanced Sweetness and Spice: Perfectly seasoned with cinnamon, ginger, and nutmeg, this pie offers a balanced taste that captures the essence of fall.
Ingredients for the Perfect Milk Bar Pumpkin Pie
To make this delicious pie, gather the following ingredients for the crust, filling, and finishing touches. For optimal results, use premium, fresh ingredients.
Ingredients for the Crust
1 1/2 cups crushed graham crackers
1/4 cup brown sugar
1/2 cup unsalted butter, melted
1/4 teaspoon cinnamon
Ingredients for the Pumpkin Filling
1 can (15 oz) pumpkin puree
1 cup heavy cream
3/4 cup granulated sugar
1/4 cup brown sugar
2 large eggs
1 teaspoon vanilla extract
1 teaspoon cinnamon
1/2 teaspoon ground ginger
1/4 teaspoon nutmeg
A pinch of salt
Optional Topping Ingredients
Whipped cream
Crushed graham crackers
A sprinkle of cinnamon or nutmeg
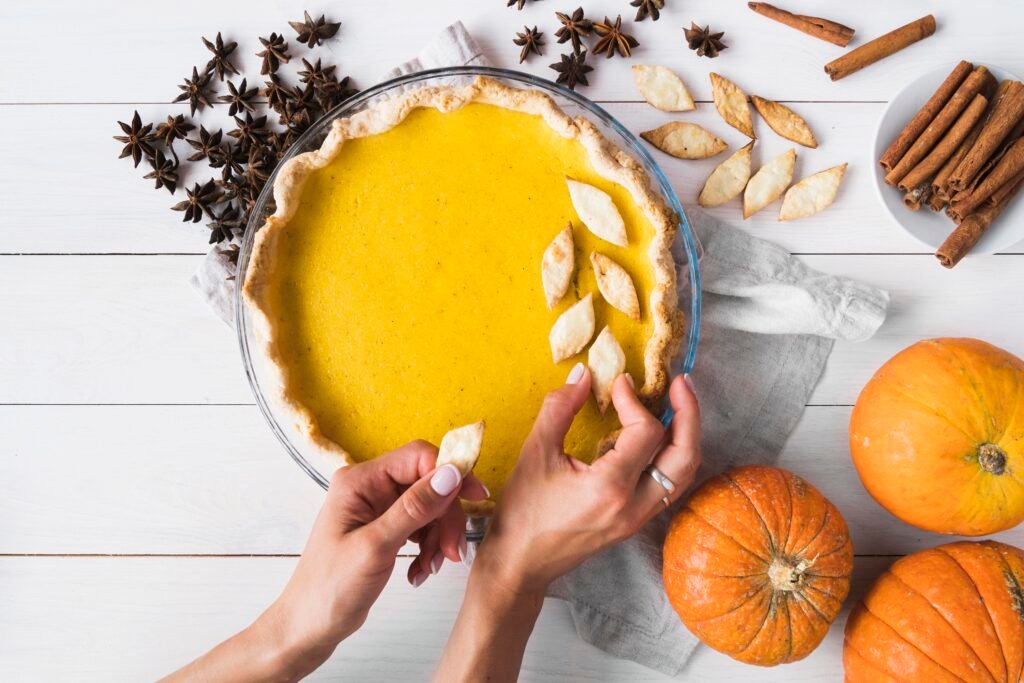
Step-by-Step Guide to Making Milk Bar Pumpkin Pie
Creating this delicious pie is simple, but it requires attention to detail. Follow each step closely to achieve that signature Milk Bar experience.
Prepare the Crust
Combine the Ingredients: In a large bowl, mix the crushed graham crackers, brown sugar, melted butter, and cinnamon until the mixture resembles wet sand.
Press into the Pan: Press the crust mixture evenly into a 9-inch pie pan, using your fingers or the back of a spoon to ensure it’s compact and evenly distributed. Press it firmly against the sides to create a stable base for the filling.
Bake the Crust: Set the oven’s temperature to 170 degrees Celsius (350°Fighter). The crust should be softly golden brown after 10 minutes of baking. Place it on a rack to cool while you get the filling ready.
Make the Pumpkin Filling
Blend the Ingredients: In a large mixing bowl, combine pumpkin puree, heavy cream, granulated sugar, brown sugar, eggs, vanilla extract, cinnamon, ginger, nutmeg, and salt. Blend with a whisk until well blended and smooth.
Achieve Smooth Consistency: For a silky-smooth filling, consider blending the mixture with an immersion blender for a few seconds.
Pour into the Crust: Carefully pour the filling into the pre-baked crust. Use a spatula to spread the mixture evenly and smooth out the top.
Bake the Pumpkin Pie
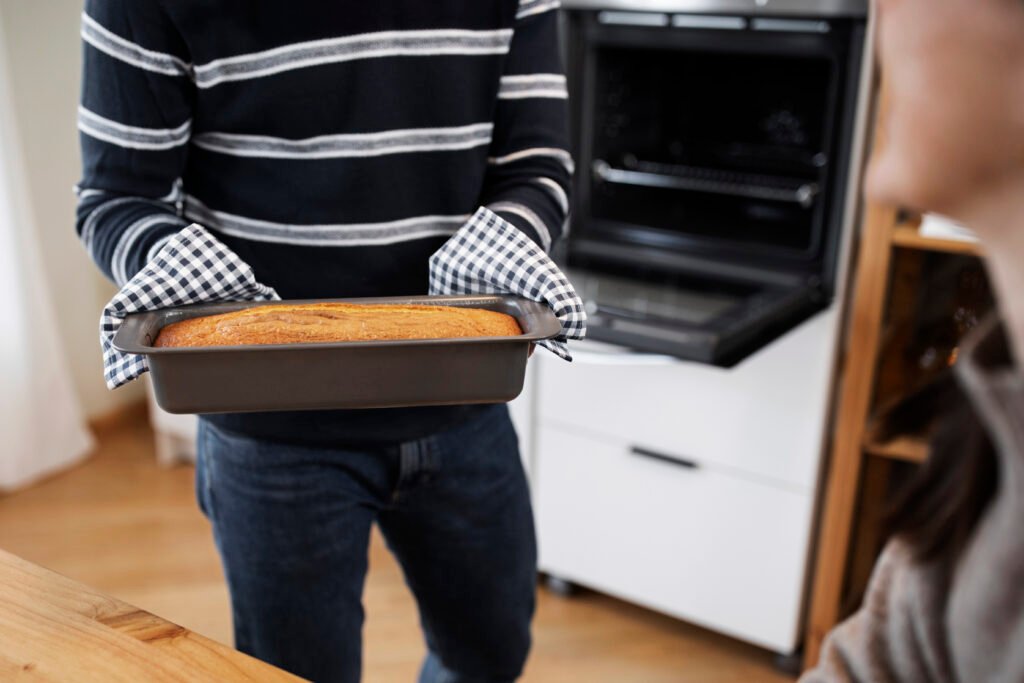
Adjust the Oven Temperature: Lower the oven temperature to 325°F (163°C).
Bake to Perfection: Let the pie bake for 50 to 60 minutes. The filling should be somewhat jiggly in the middle but set around the edges.
Cool the Pie: Allow the pie to cool down to ambient temperature. This step is crucial for setting the custard-like texture without cracks.
Tips for Serving Milk Bar Pumpkin Pie
Chill the Pie: For the best texture, chill the pie in the refrigerator for at least two hours or overnight before serving. This allows the flavors to blend and the texture to harden.
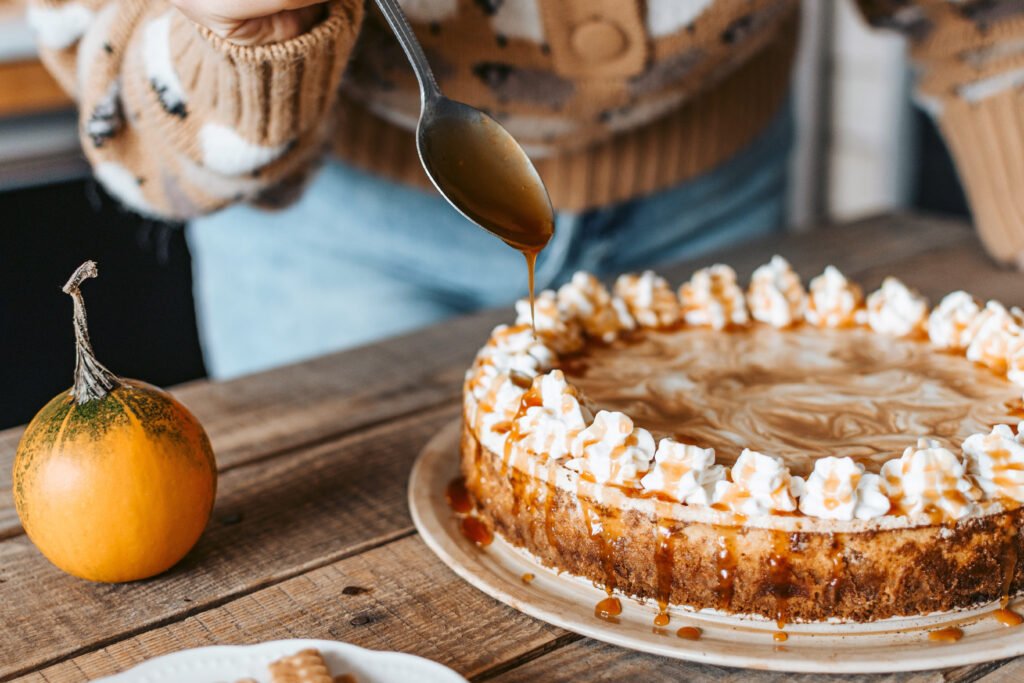
Add Toppings: Top with a generous dollop of whipped cream, a sprinkle of cinnamon, or even crushed graham crackers for added crunch and aesthetic appeal.
Serve and Enjoy: Slice with a sharp knife, wiping it clean between cuts to maintain a neat presentation.
Troubleshooting Common Issues
Achieving the perfect Milk Bar pumpkin pie can be challenging. Here are solutions for common problems:
Cracked Filling: If the filling cracks, it may have been overbaked or cooled too quickly. Always bake at a low temperature and let the pie cool gradually at room temperature.
Soggy Crust: A soggy crust can be prevented by baking it before adding the filling. This ensures a firm, crisp texture that won’t absorb too much moisture from the filling.
Runny Filling: If your filling doesn’t set, it could be due to underbaking or incorrect ingredient proportions. Bake until the middle is just a little bit jiggly.
Storing and Freezing Tips
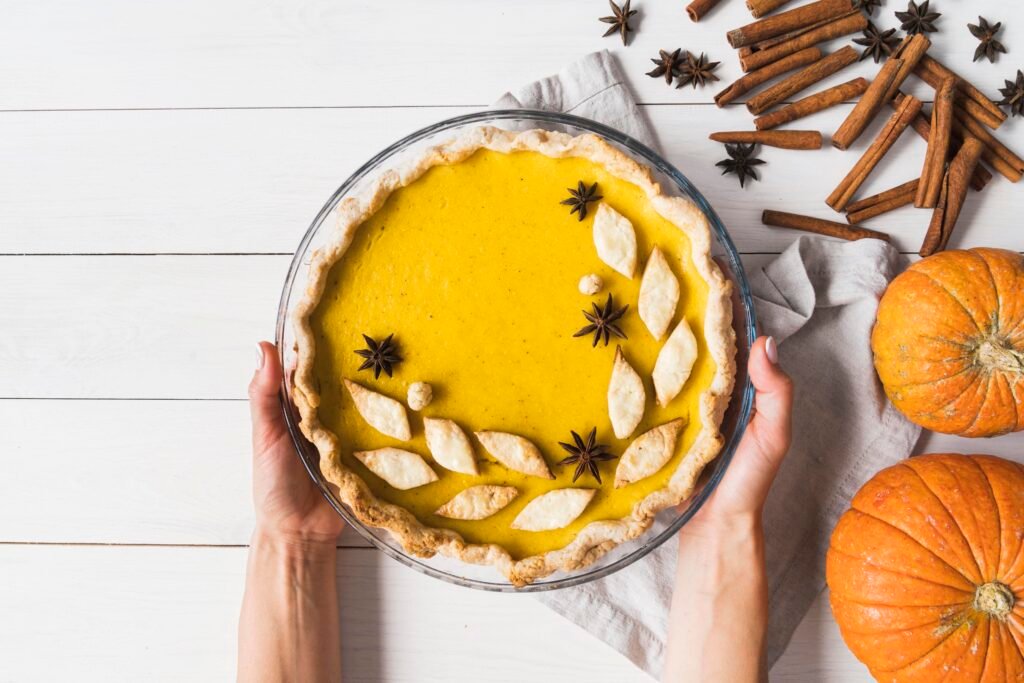
Milk Bar pumpkin pie can be stored and enjoyed over several days. Here’s how:
Refrigerate: Store the pie in the refrigerator, covered with plastic wrap or foil, for up to five days.
Freeze: The pie may be frozen for up to three months after being wrapped in plastic wrap and then aluminum foil for extended storage. Thaw in the refrigerator before serving.
FAQs for Milk Bar Pumpkin Pie
What makes Milk Bar Pumpkin Pie different from traditional pumpkin pie?
Milk Bar Pumpkin Pie stands out because of its unique texture and flavor profile. Unlike traditional pumpkin pies, which can be dense, the Milk Bar version has a custard-like consistency with a smooth, creamy filling. The graham cracker crust also adds a crunchy contrast that enhances the overall experience
Can I make the pie in advance?
Absolutely! Milk Bar Pumpkin Pie actually benefits from being made a day in advance. Allowing it to chill overnight enhances the flavors and firms up the filling, making it easier to slice and serve.
Is it necessary to use heavy cream in the filling?
Heavy cream is recommended for the filling to achieve the rich, creamy texture that defines the Milk Bar Pumpkin Pie. However, you could substitute it with half-and-half or coconut milk for a lighter texture, though the filling may be slightly less dense.
Can I add toppings to Milk Bar Pumpkin Pie?
Absolutely! Many people love adding a dollop of whipped cream, a sprinkle of cinnamon, or crushed graham crackers on top. A drizzle of caramel sauce also pairs wonderfully with the warm spices in the filling.

